
Well I don’t seem to have much of either, but I certainly spend a lot of my time in order to save money; am I just chasing my tail?
See, when it comes to Scotts, the glorious nickel plated radiator could be described as both its most attractive and its most off-putting feature. It looks great and the whole idea of a practical water cooling system dating before the Great War is a major talking point but sooner or later someone will have to spend a lot of money on it. The rad on Judy’s 1928 Squirrel has been leakproof up until late last year when it developed a damp patch. I took it to Lloyd Bryan (see previous post- The Specialist) but another leak appeared soon after. Lloyd kindly fixed this one free of charge but counselled that it was ‘getting tired’ and really needed a new core. This is bad news; replacing the core is a very specialist and time consuming job that few can undertake resulting in a wait and probably a four figure bill. Sure enough almost immediately yet another leak appeared. I decided that if a new core is needed, apart from making a fool of myself (thought we’d have a go ourselves did we sir?) it doesn’t matter what I do to the old one; time to learn about bodging Scott radiators.
Although of honeycomb construction, the cells are not hexagonal but cylindrical, thin-walled brass tubes, flared at either end where the intervening space is filled with solder. Between the flared ends, the waisted middle of the tubes provides a space around which water can circulate while air passing through the tube provides the cooling. The problem is that after ninety years the tubes have corroded and some are perforated inside. To perform a proper repair would mean melting the solder at both ends at once to remove the damaged tube and replacing it with a new one. No wonder the usual leak fix is to simply solder over both ends of the leaky tube. That’s fine for an odd one here or there but it looks awful and completely cuts off the cooling air to that cell, also affecting those around it. I decided the firt step was to assess the extent of the problem by thoroughly cleaning the accumulated old oil and gunge from the tubes using a bottle brush in the parts washer. With nearly 1000 to do, and from both sides, it took two tedious evenings and my reward was many more leaks than I had before. But hopefully that had flushed out which were the cells most likely to fail next. I capped off the outlets and put a piece of fuel hose onto the overflow so that with the rad immersed in a big plastic tub, blowing into the pipe produced evidential bubbles.
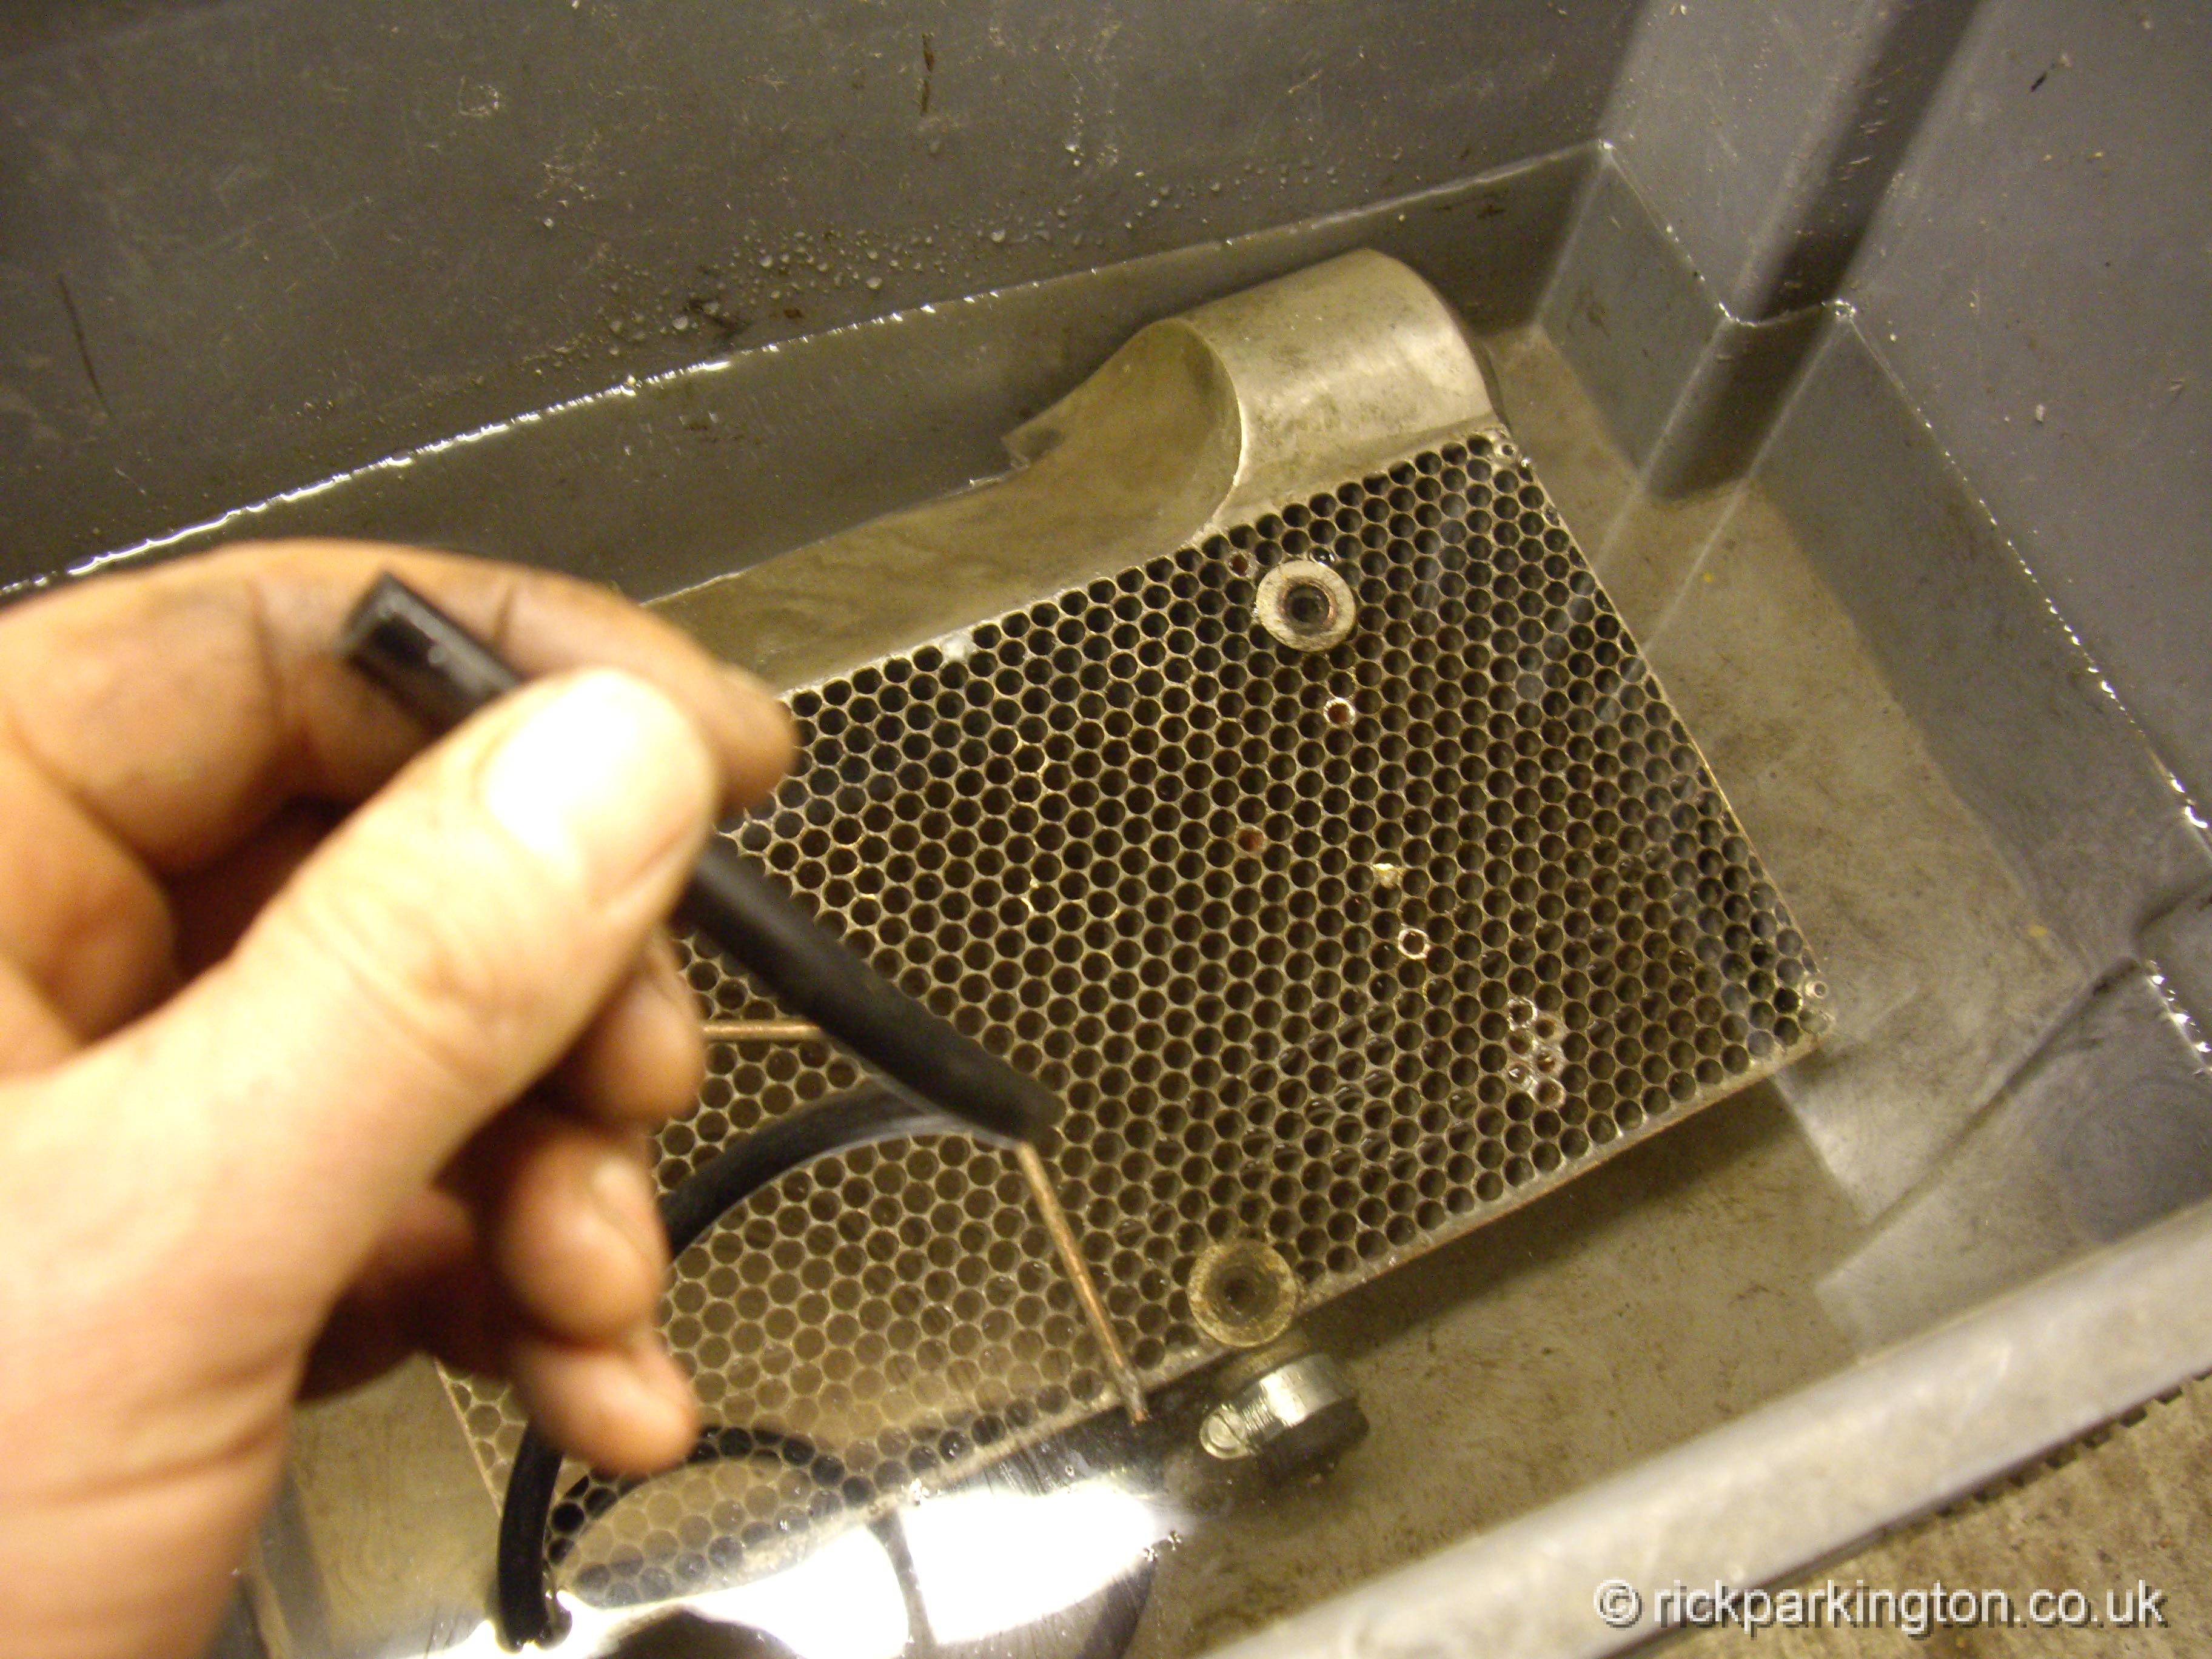 I decided to try sleeving inside the affected tubes with copper pipe, it would still reduce the cooling but far less than blocking them entirely. The first job was to gut the hole, making the perforation into a tear that would encourage the water to flow around my new sleeve.
I cut some lengths of 1/ 4″ copper pipe to the depth of the holes and annealed both ends. Old bits of gas fire ceramic are invaluable as hearths; the copper heats to red far faster, saving gas.
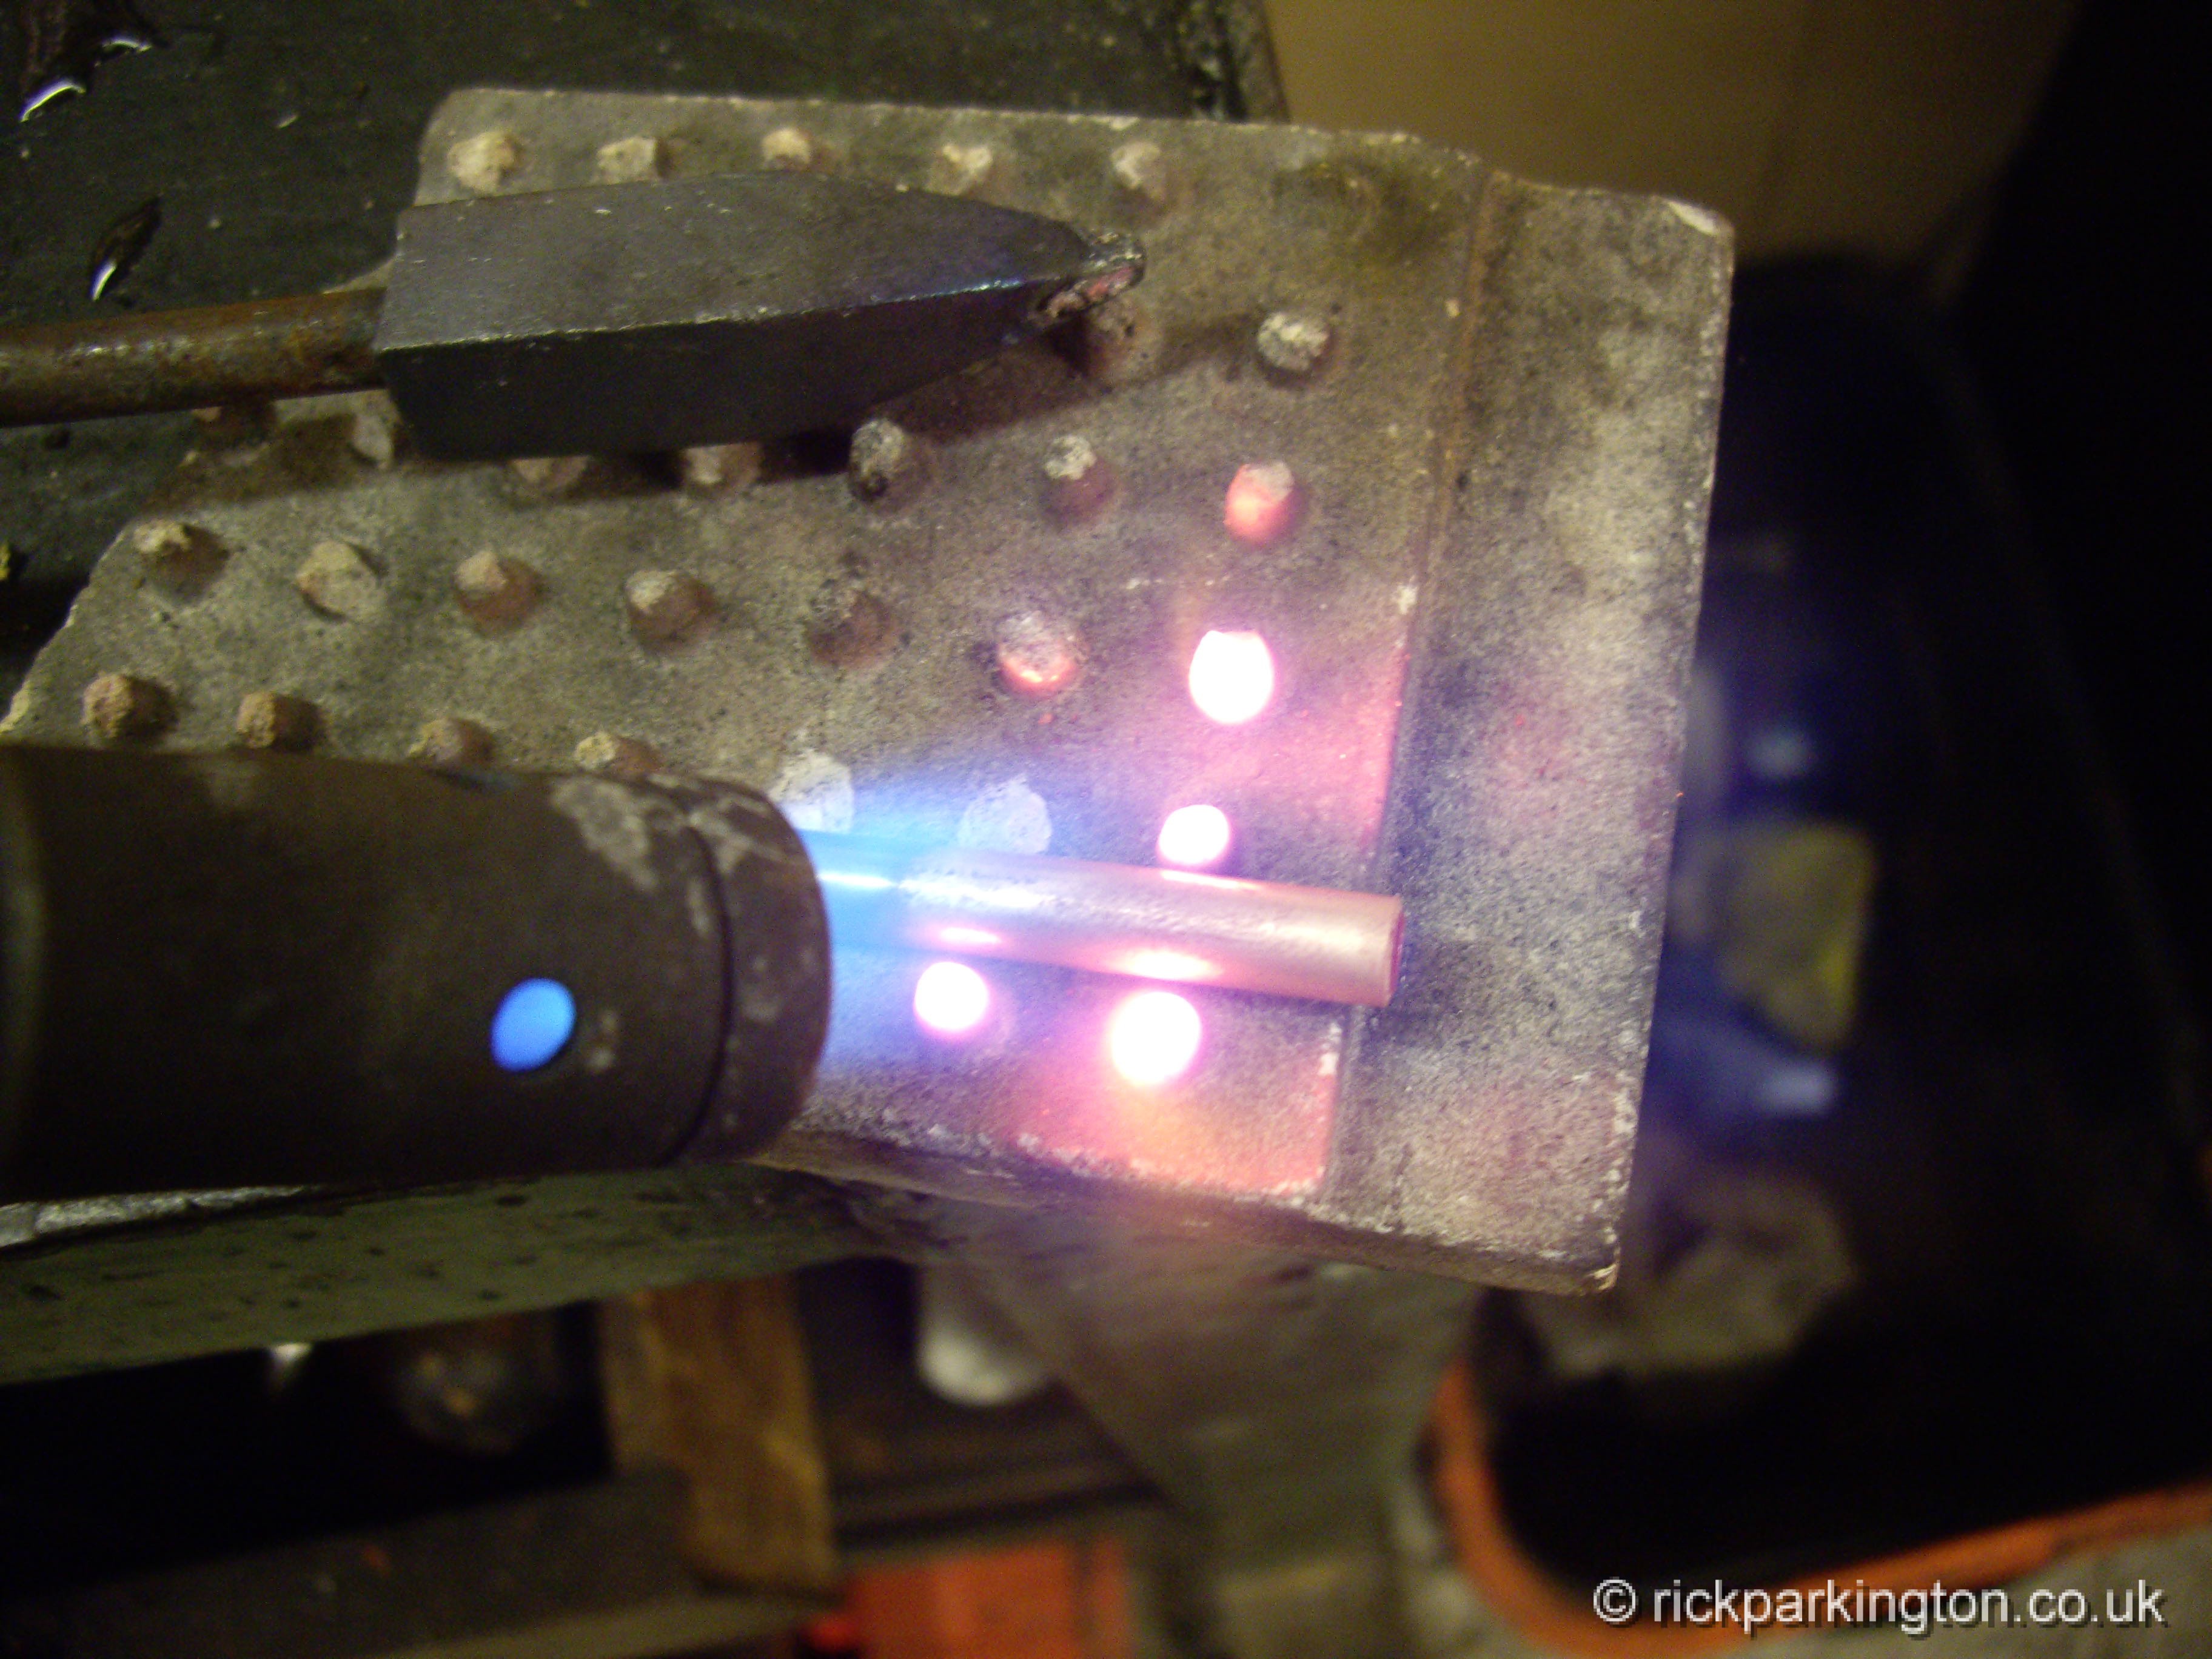 After quenching in clean water to remove the scaling, I flared out one end to a snug fit in the end of the original tube
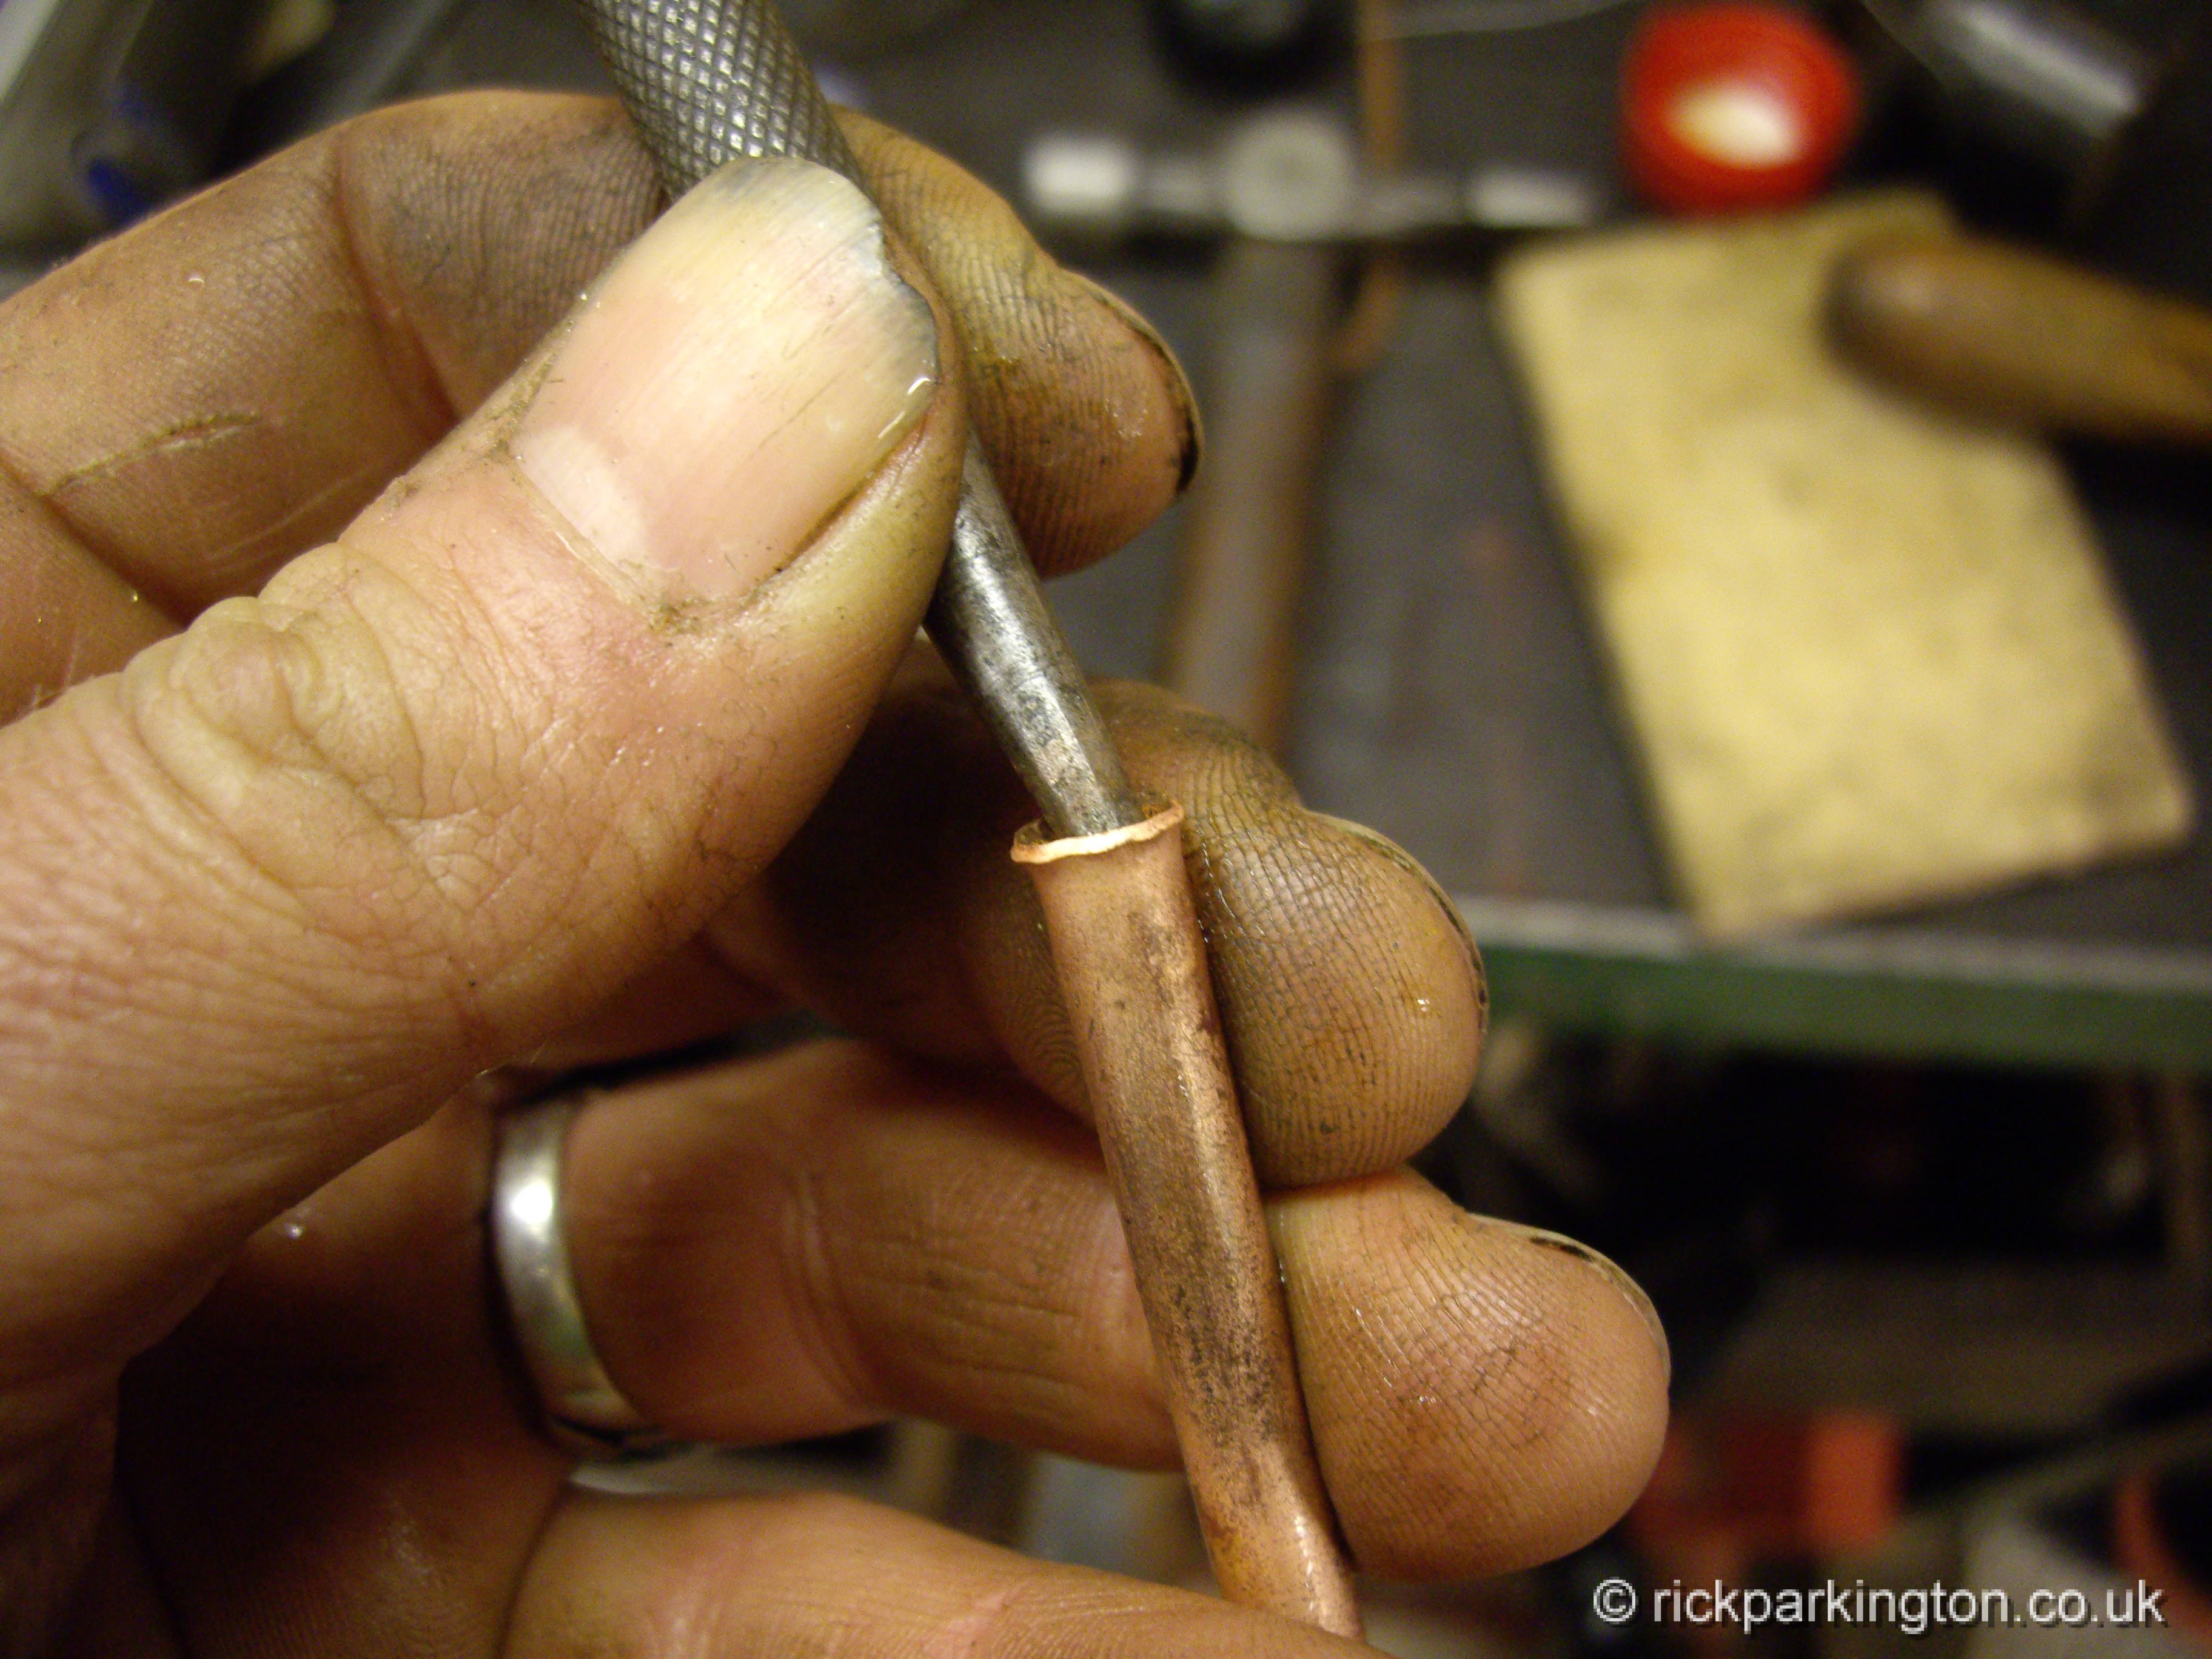 By rolling a punch around you can mould the softened copper like using a potters wheel.
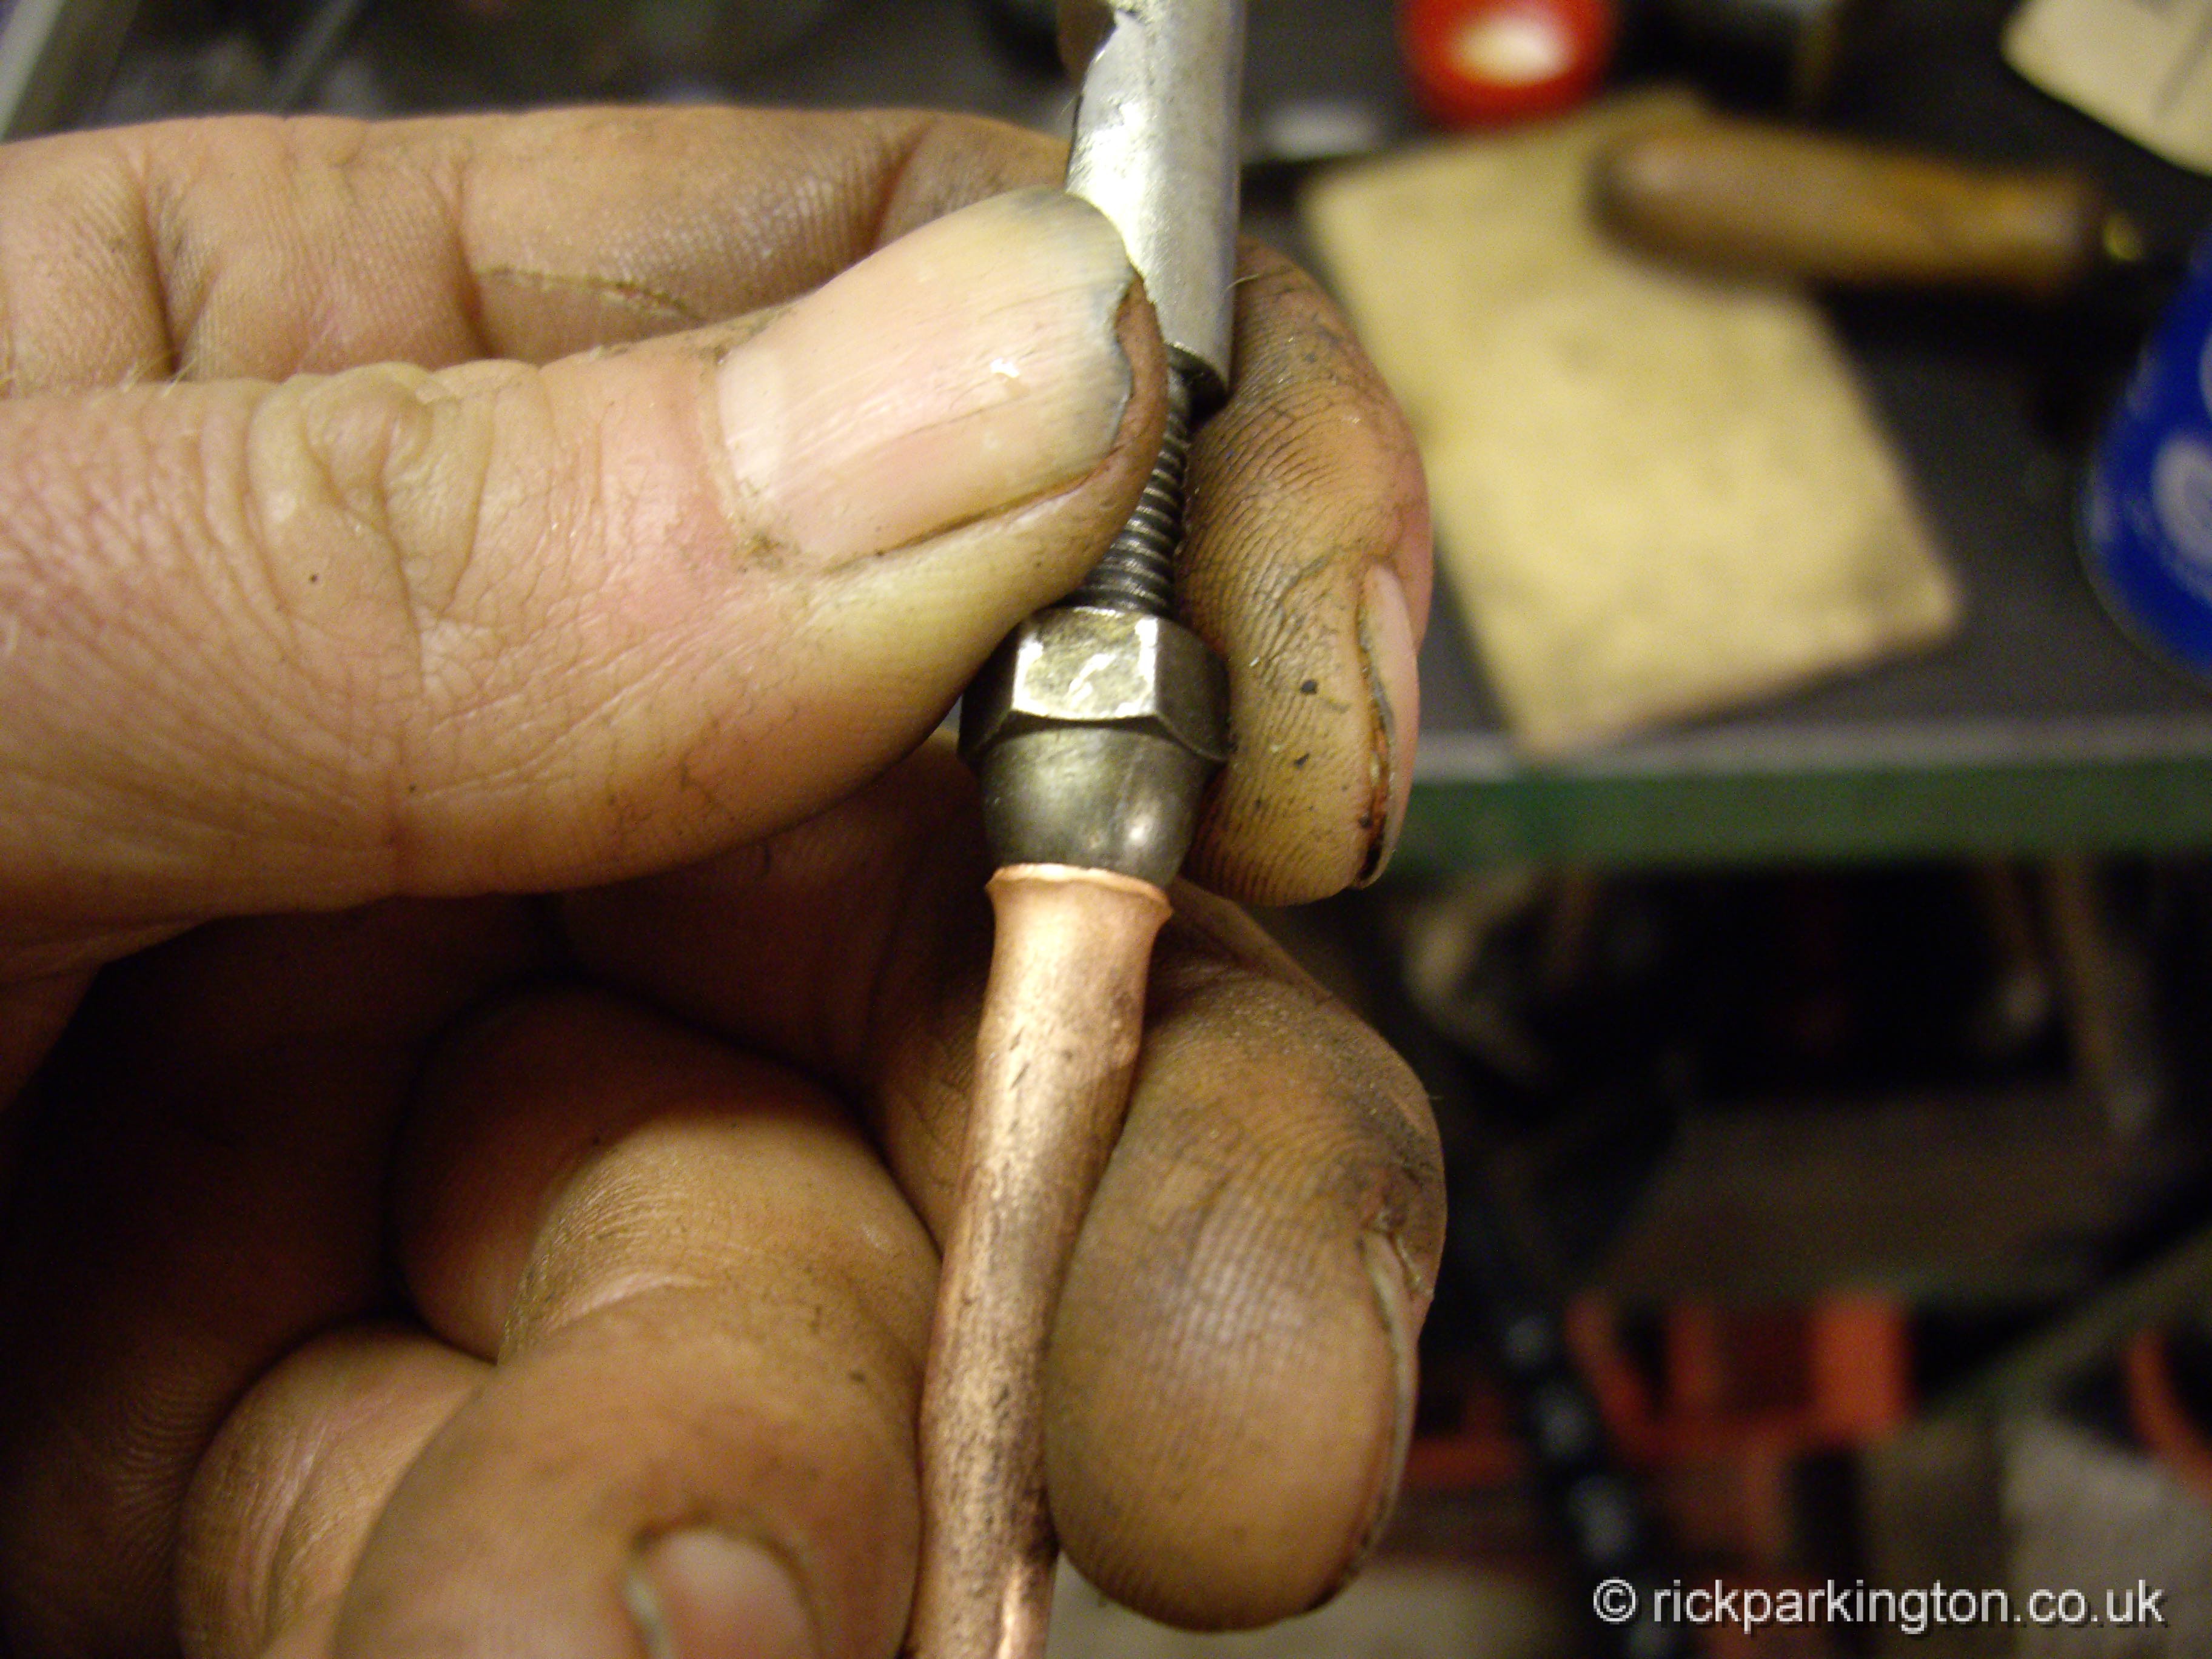 Then to create a more uniform look, I used a makeshift ball-ended punch made up from a domed nut on a bolt
 After brightening the soldering area with wire wool and adding some flux, the tube slides into place. The unflared end sliding snugly through the waist of thww original tube.
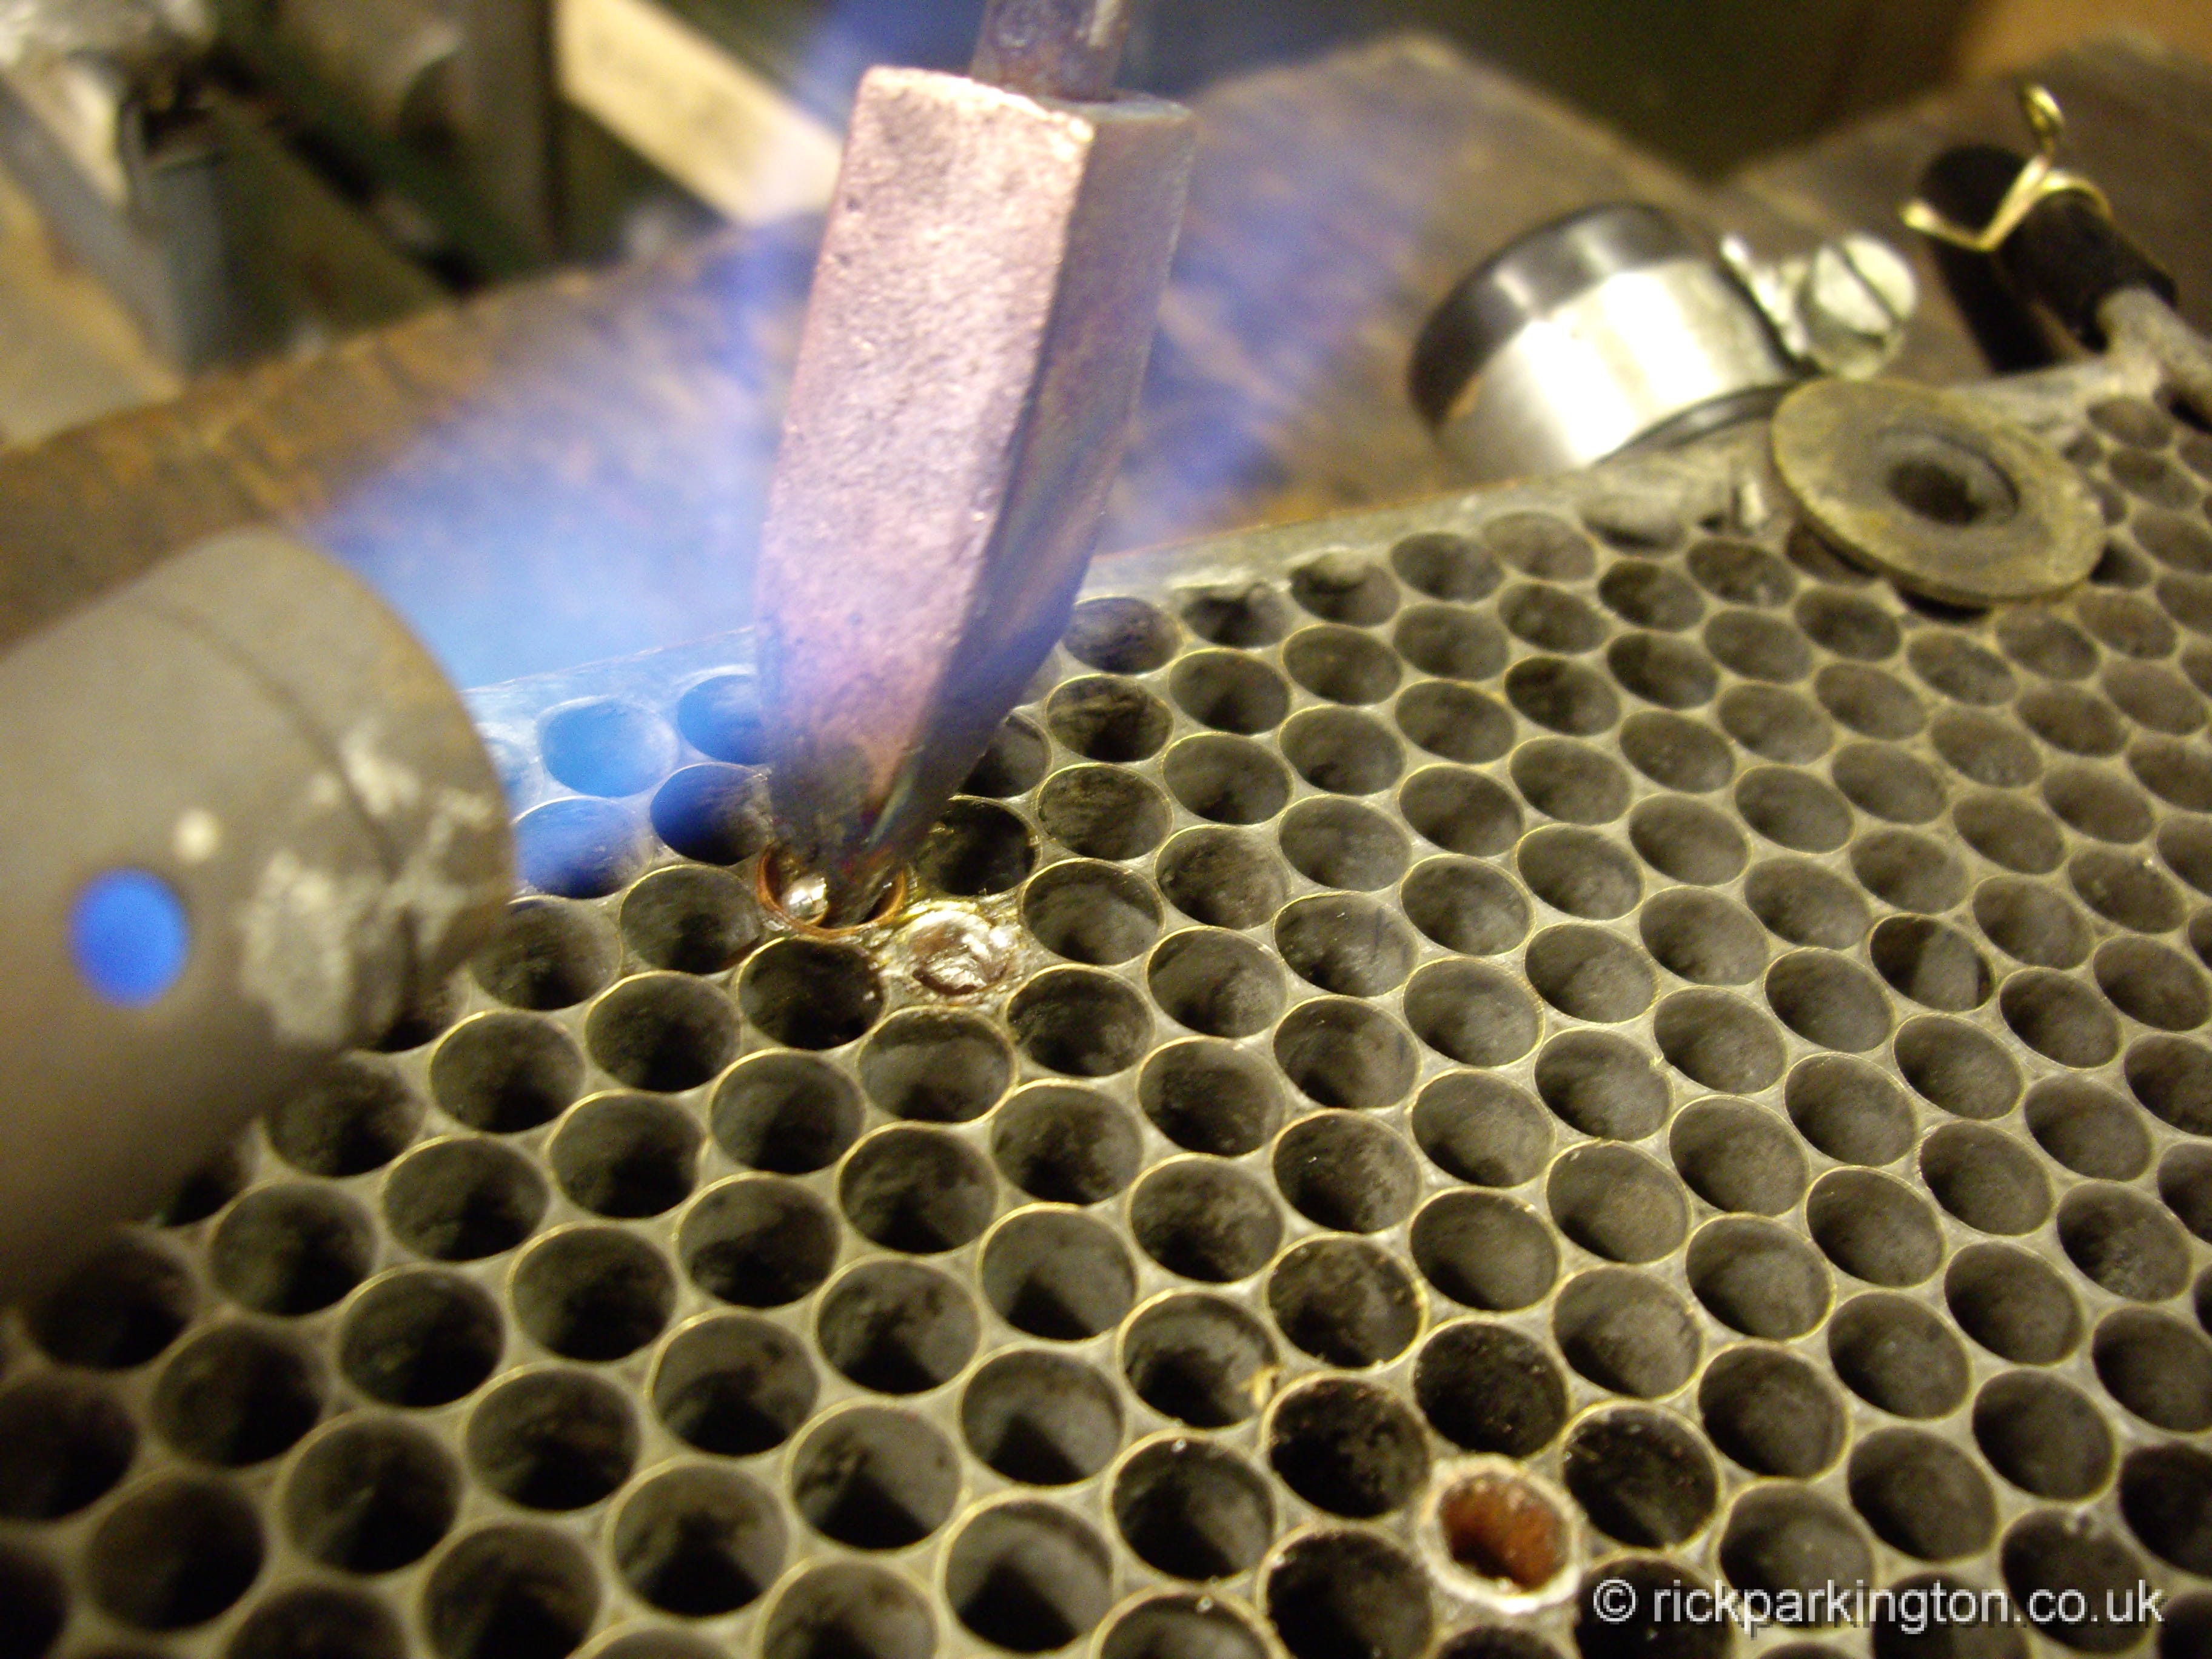 Now for the bit I was chuffed about. I couldn’t see how to adequately heat an article designed to lose as much heat as possible with an electric soldering iron small enough to access the job; yet getting a gas flame on the job would surely lead to the whole thing falling apart. I know Lloyd is a great fan of old copper soldering bolts but I only had this little fella which doesn’t hold much heat so I used a technique that I learned from cooking jacket spuds. Have you seen those metal prongs you stick through the potato? They are heat sinks that cook the potato from the inside out by conduction. By aiming the gas away from the core and onto the copper, the temperature of the tip rose until the solder began to melt around my sleeve, bonding to its neightbours. It would be easier with a customised iron with a nose that better fits the hole but once melting temperature had been reached, I found rotating the iron caused the solder to follow it round the joint.
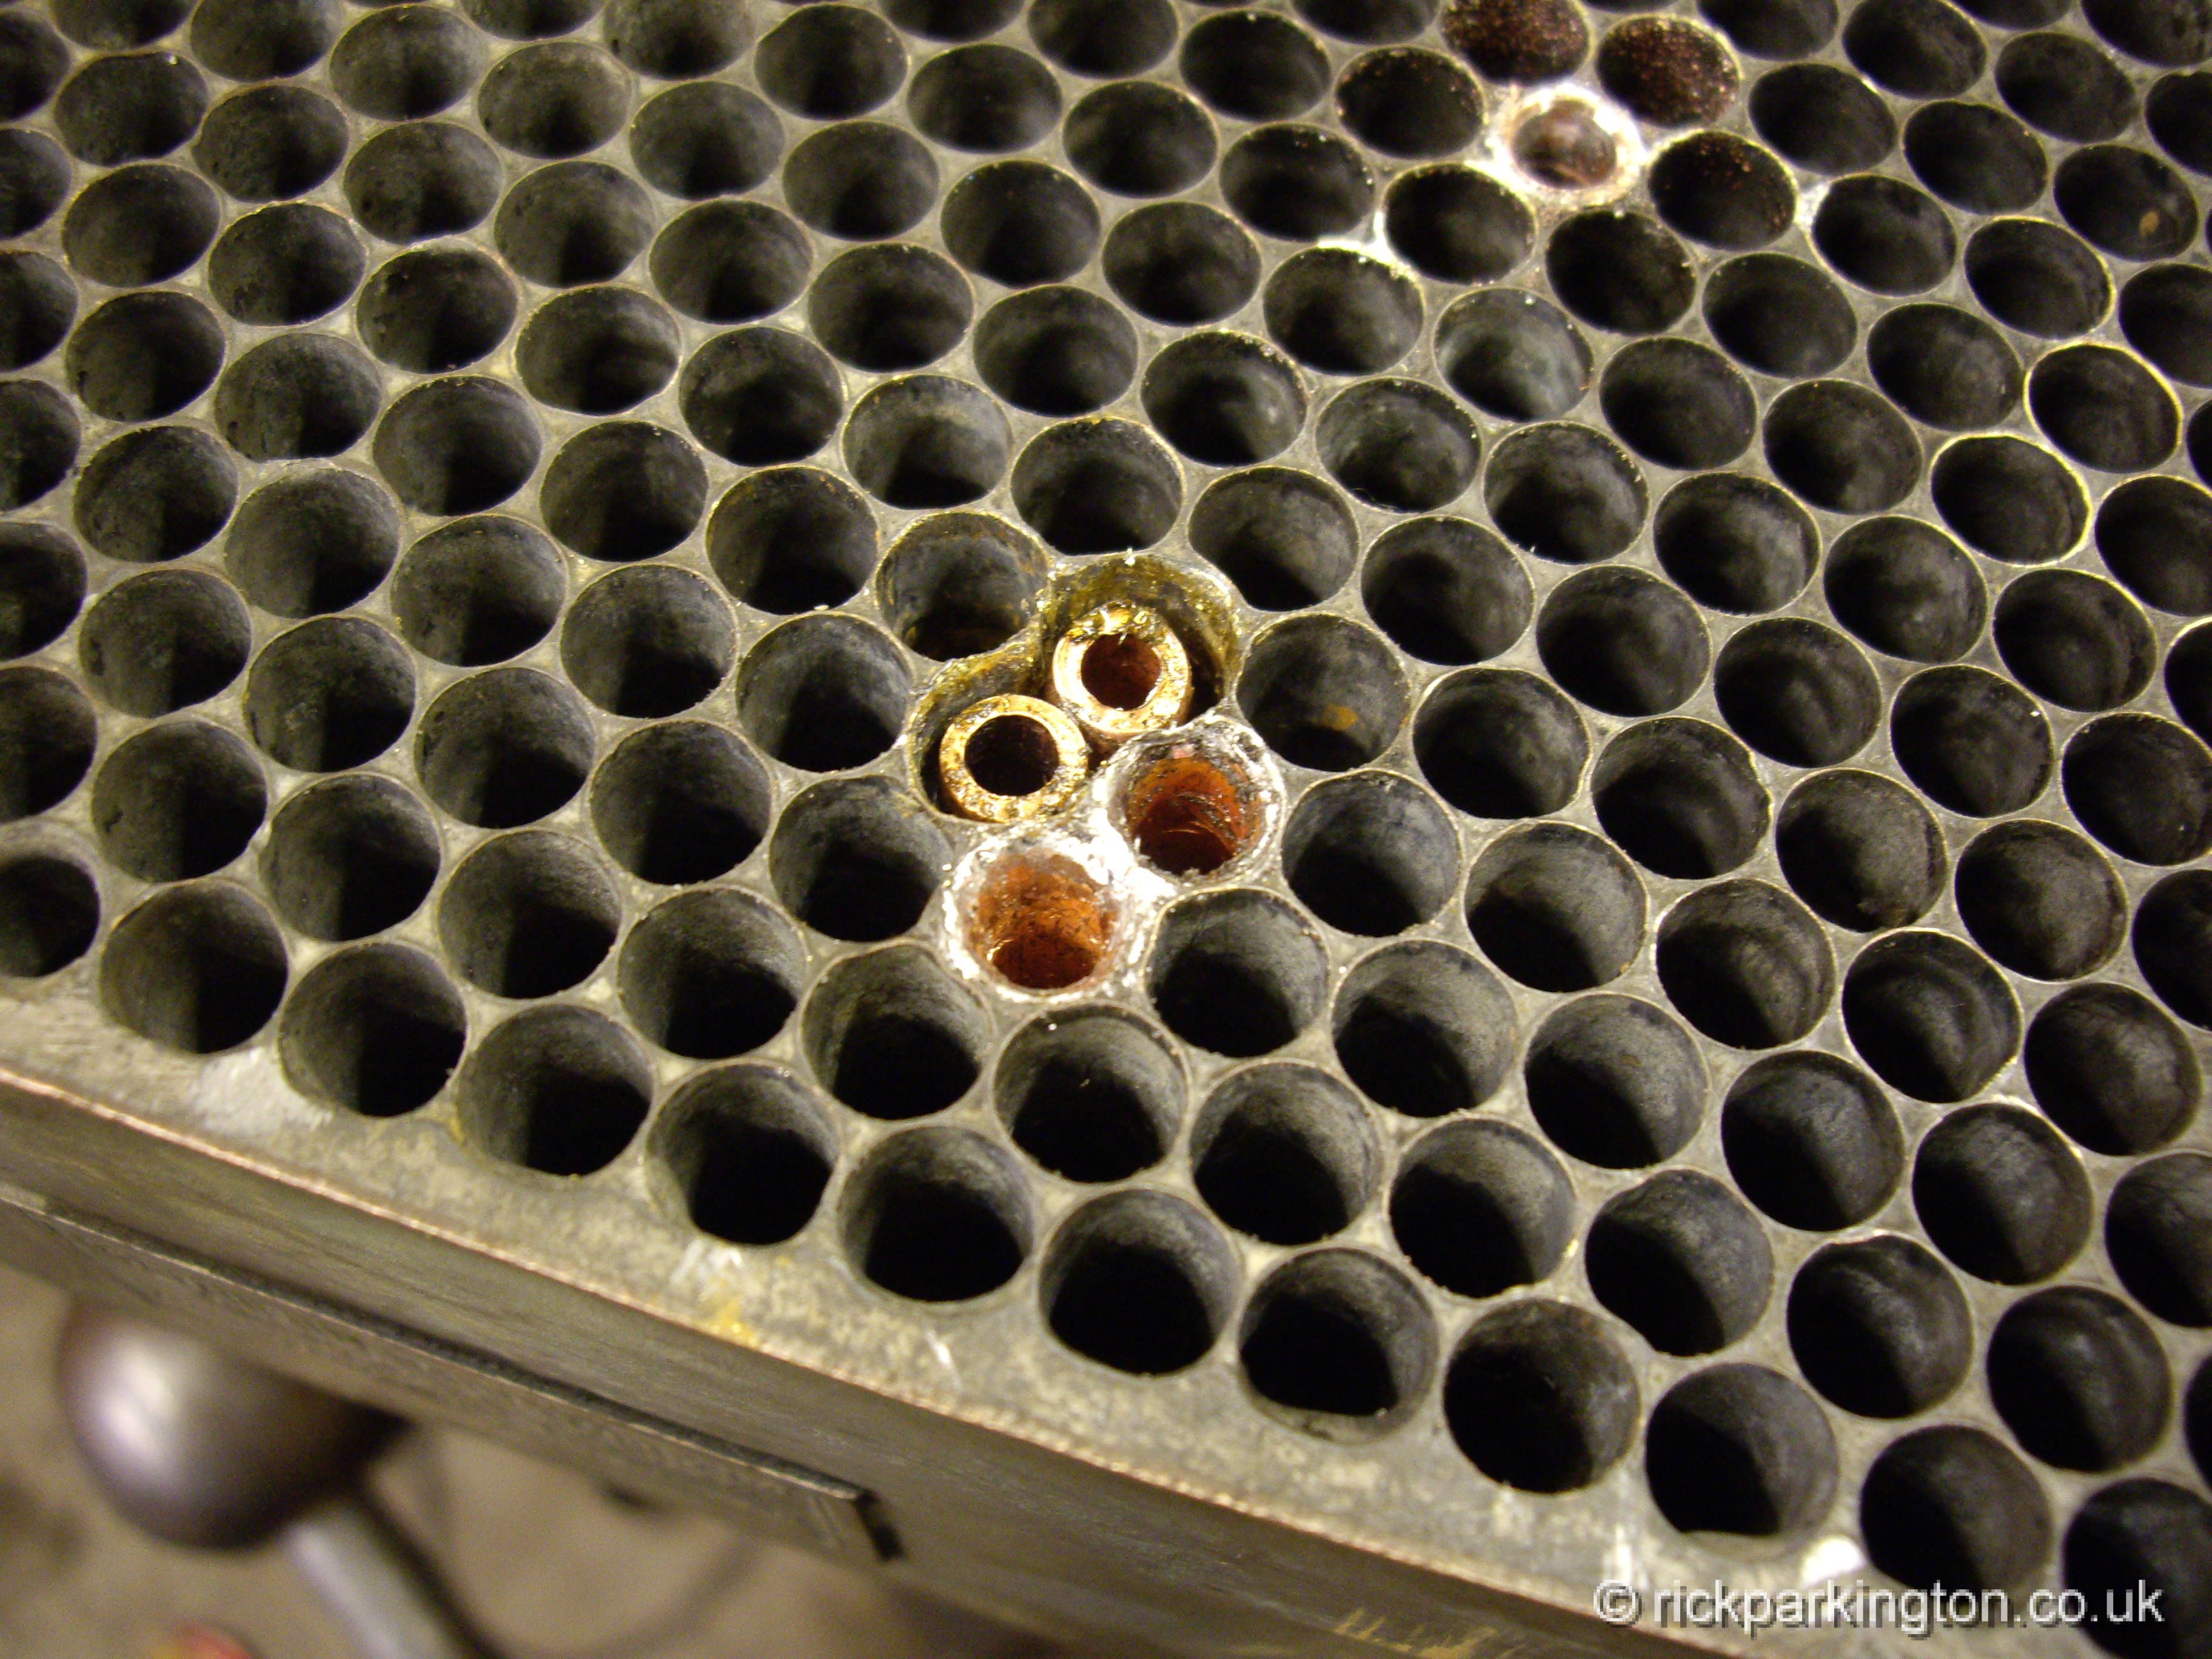 This left the other end of the pipe (getting ambitious, two togther in this pic) to be flared and soldered. Trusting the strength of the joint was strong enough to cope, I flared it out to fit the hole with my punch…
 …before soldering. Provided the annealing is done properly, the pipe is so soft it is easily worked into shape and it’s important to get it to sit as close as possibIe to maximise heat transfer and capillary action of the solder, also remember to clean and flux both ends before fitting the first. Stupidly on my first attempt I was so nervous of wrecking the rad that I forgot and had to remove it again. Compared to blobbing over the ends of the tubes, I think the result is fairly pleasing

A bit of cleaning up with a file will improve it a bit. How badly it will affect the cooling I don’t know. The wall thickness of the tube is the problem, it’s unlikely to be so efficient as the original brass and even after tearing a hole in the old tube I can’t see the circulation being as good. This concern combined with my success thus far led me to fly a bit too high and I tried an alternative approach of drilling out the soldered ends of the old tube in order to be able to remove it completely but it was almost impossible to avoid damaging the surrounding tubes extractng it making the problem area bigger – hence the block replacment inthe picture.
But the point is this repair will put the bike back on the road while we consider other options. I’d like to get a scrap radiator to play with and will look into whether the modelling world can supply thinner walled copper tube of the right size, I bought small diameter stuff once. Lloyd is going to look into availability of brass pipes but unless they are already flared I think they would be difficult to work with; brass is harder to anneal and never as malleable as copper.
The moral of this story is that if you have enough time, I think it is worth having a go at saving money. If nothing else you learn and in this case, even if cost were not an issue, I’d prefer not to have this radiator restored because it won’t match the rest of the bike. Conversely my repairs would look terrible on a radiator to be sent away for concours finishing. And how successful my efforts have been still remains to be seen but I’ve ridded myself of my fear of Scott radiators and learned a new trick for soldering. And surely the thing that makes ownership of old bikes both feasible and rewarding is acquiring the knowledge to keep them on the road.
Cheers RIck
Some tube here:
http://www.glrkennions.co.uk/brass-copper-tube.html
Could you make a small tool with a thread to go through the tube, and a suitably-shaped part to swage both ends at once as a nut is done up, when in situ?
Some gubbins here about annealing brass:
http://steamshed.com/annealing%20process.html
N
Well spotted, Nick. I did think about a swaging tool something like you describe but I think it’s actually easier to do them individually by hand, then you can watch what’s happening as you stretch to fit the hole snugly. It’s pretty easy to do with the tapered punch. I’ll have a look at the wesite you suggest for future reference. Cheers R
Another brilliant article. Very brave work there, and quite inspiring. I’ve always been interested in Scotts, but never seen one in the flesh – I’m not sure if any made it to NZ. Lovely bikes. But what a radiator!
Thanks very much Alan, I always take the view that if something really needs a complete rebuild by a specialist you might as well have a go first. Cheers Rick